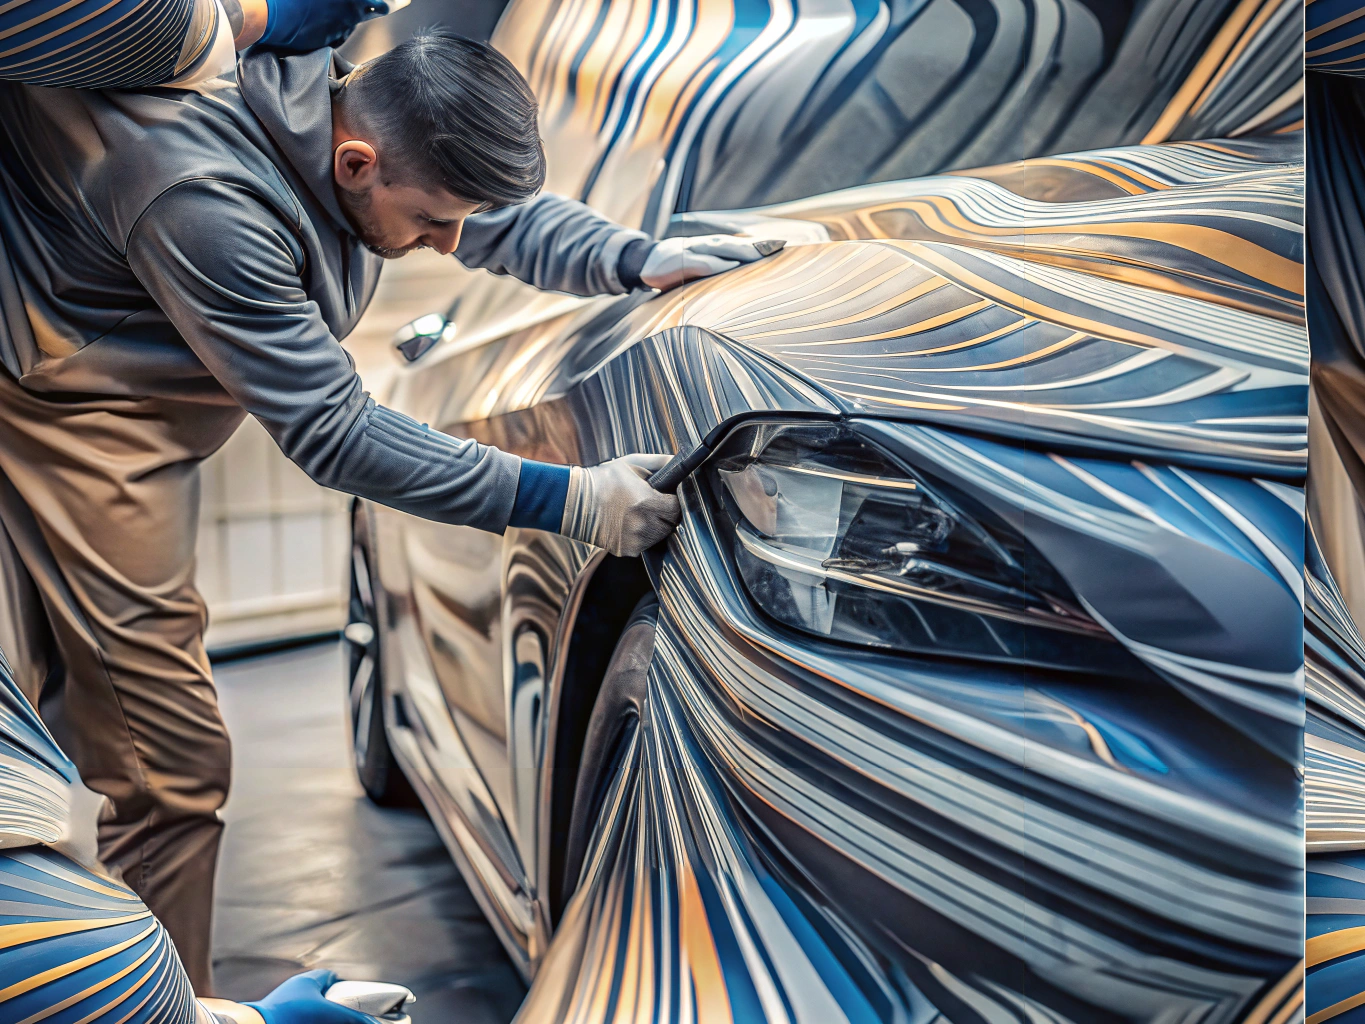
How to Install Vinyl Wraps for Maximum Durability
Introduction
Vinyl wraps are a fantastic way to customize your vehicle while protecting its original paint. However, to ensure maximum durability, proper installation is crucial. In this guide, we will walk you through the steps to install vinyl wraps effectively.
Step-by-Step Installation Guide
Step 1: Prepare the Surface
Before applying the vinyl wrap, ensure the vehicle’s surface is clean and free of any debris. Use a mild detergent and water to wash the area, and then dry it thoroughly.
Step 2: Measure and Cut the Vinyl
Measure the area you plan to wrap and cut the vinyl accordingly. It’s always a good idea to cut a little extra to ensure full coverage.
Step 3: Apply the Vinyl
Carefully peel the backing off the vinyl and apply it to the vehicle’s surface. Use a squeegee to smooth out any air bubbles and ensure a tight fit.
Step 4: Trim the Excess
Once the vinyl is applied, use a sharp blade to trim any excess material. Be careful not to cut into the vehicle’s paint.
Step 5: Heat and Seal
Use a heat gun to gently warm the vinyl, allowing it to conform to the vehicle’s curves. This step also helps to seal the edges, preventing peeling.
Conclusion
By following these steps, you can ensure that your vinyl wrap is installed correctly and will last for years to come. For more information on vehicle wraps, visit our Custom Vehicle Wraps & Graphics page.


Leave A Comment